
Make Tea, Not War Card Holder Video Tutorial
[vc_row][vc_column][vc_column_text]
Hey all! Happy Tuesday! It is Make Tea, Not War today. Yes, you know I love this stamp set! I have a fun video tutorial for you today as well. I am using my awesome Xyron Creative Lite, Make Tea Not War and an amazingly cute paper pack from Joann's DCWV. I can say that it is amazingly cute without just making you think that... I truly know that I will be using this paper pack on a lot of stuff! Normally I will buy a pack and maybe like 1 or 2 pieces of the whole thing... this one I think there is 1 sheet that just isn't "me". I love it!

As you can see from the photos it is a cute little book. One side holds 3 - 3 x 3 cards and the other side holds 3 - 3 1/4 x 3 1/4 envelopes. You can also stamp sentiments on the inside if you like.

I used some small stitched circles for the sentiments. All of them to my amazement fit perfectly!

I love these little bunnies and these sentiments are perfect! I love the foiled paper from the DCWV Happy Spring paper pack from Joann's. It looks so cute with this bunnies cup.

The DCWV Happy Spring paper was perfect with the little mouse. I actually colored this little guy with his little purple cup a long time ago before I even got this paper, so it is meant to be!

This adorable flower paper I felt went perfectly with this little bun. I really can't wait to make some more cards and more projects with this paper!
This project is so easy and wonderful to make with my Xyron Creative Station Lite!!! actually you all know how much I use that wonderful glorious machine. I will admit for YEARS I would think "why would you even do that what would you use it for" but now... oh my goodness I am so hooked!!!! I am obsessed! And even though Xyron sent me refills and I got the paper as well my thoughts, feelings, and opinions are alllll mine!
Don't forget to scroll past the supplies and things you need to watch the video tutorial. I always put the supplies first so that you can be prepared :)
The Copic Markers I used are:
The cardstock sizes:
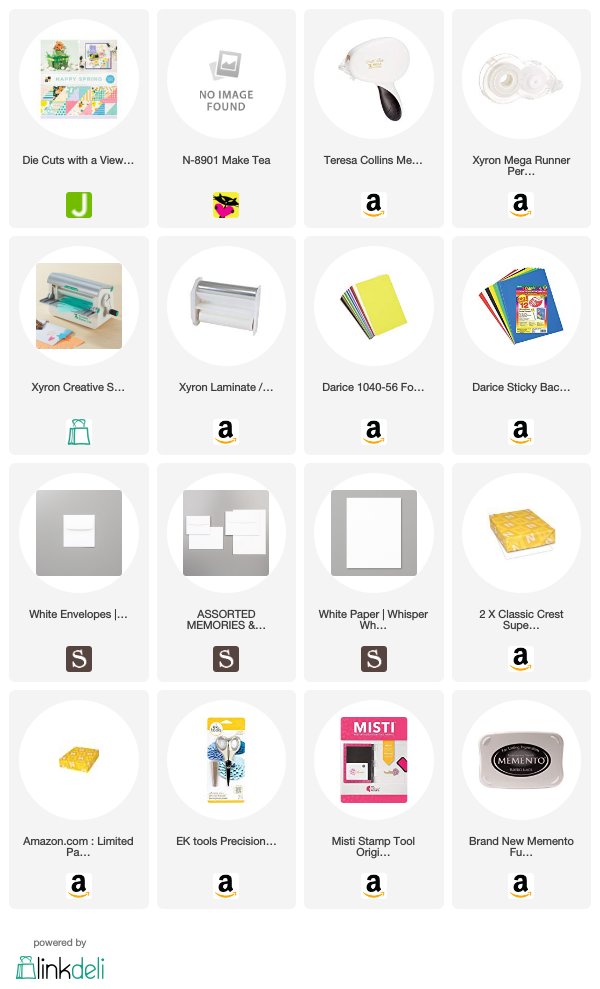
Here are the supplies I used:
Here is the video of how I made the cardholder:
Here is the video I made of how I colored all the bunnies in the set:
Be sure to check out The Cat's Pajamas Blog and Facebook page to see what the other designers on the team have made to inspire you for the challenge. I really hope that you will go over join in all the fun.
You will also want to go over and check out all of the amazing videos on the Xyron YouTube channel.
I really hope you enjoyed my post today because I really enjoyed this card and making this post :)
Until next time friends!!!

Don’t forget to sign up to follow my blog so you don't miss a post. You might also want to follow me on Instagram, YouTube, Pinterest, and if you want to connect with me, even more, come see my facebook page!
[/vc_column_text][/vc_column][/vc_row]
Hey all! Happy Tuesday! It is Make Tea, Not War today. Yes, you know I love this stamp set! I have a fun video tutorial for you today as well. I am using my awesome Xyron Creative Lite, Make Tea Not War and an amazingly cute paper pack from Joann's DCWV. I can say that it is amazingly cute without just making you think that... I truly know that I will be using this paper pack on a lot of stuff! Normally I will buy a pack and maybe like 1 or 2 pieces of the whole thing... this one I think there is 1 sheet that just isn't "me". I love it!

 |  |
As you can see from the photos it is a cute little book. One side holds 3 - 3 x 3 cards and the other side holds 3 - 3 1/4 x 3 1/4 envelopes. You can also stamp sentiments on the inside if you like.

I used some small stitched circles for the sentiments. All of them to my amazement fit perfectly!

I love these little bunnies and these sentiments are perfect! I love the foiled paper from the DCWV Happy Spring paper pack from Joann's. It looks so cute with this bunnies cup.

The DCWV Happy Spring paper was perfect with the little mouse. I actually colored this little guy with his little purple cup a long time ago before I even got this paper, so it is meant to be!

This adorable flower paper I felt went perfectly with this little bun. I really can't wait to make some more cards and more projects with this paper!
This project is so easy and wonderful to make with my Xyron Creative Station Lite!!! actually you all know how much I use that wonderful glorious machine. I will admit for YEARS I would think "why would you even do that what would you use it for" but now... oh my goodness I am so hooked!!!! I am obsessed! And even though Xyron sent me refills and I got the paper as well my thoughts, feelings, and opinions are alllll mine!
Don't forget to scroll past the supplies and things you need to watch the video tutorial. I always put the supplies first so that you can be prepared :)
The Copic Markers I used are:
- Bunnies: E50, 51, 53, 55, E93
- Mouse: C3, 1, E93
- Cups: B05, 04, 01, 00, V20, 22, Y00, 11
- Coffee: E23
The cardstock sizes:
- Whisper White: 3 x 6 (folded in half for card base) scraps for the circles
- DCWV paper: (3) 2 3/4 x 2 3/4, (4) 3 1/4 x 3 1/4
Here are the supplies I used:
Here is the video of how I made the cardholder:
Here is the video I made of how I colored all the bunnies in the set:
Be sure to check out The Cat's Pajamas Blog and Facebook page to see what the other designers on the team have made to inspire you for the challenge. I really hope that you will go over join in all the fun.
You will also want to go over and check out all of the amazing videos on the Xyron YouTube channel.
I really hope you enjoyed my post today because I really enjoyed this card and making this post :)
Until next time friends!!!

Don’t forget to sign up to follow my blog so you don't miss a post. You might also want to follow me on Instagram, YouTube, Pinterest, and if you want to connect with me, even more, come see my facebook page!
[/vc_column_text][/vc_column][/vc_row]
Such an adorable project. LOVE.THOSE.STAMPS.
ReplyDelete