Never Change Rain Card Tutorial ~ La-La Land Crafts
[vc_row][vc_column][vc_column_text]
Hey all! Today is a super fun again today! Yes... it is not Friday (just one more day!) but still super fun because I have a tutorial for you AGAIN! and you won't want to miss out on any of it!
The card I made for you today is so stinkin cute! I wanted to use the cute Chameleon from the new release La-La
Land Crafts Never Change stamp set. I was inspired by my fellow La-La Land Crafts design team member and friend Tina Goodwin. She wanted me to do this tutorial so she would know how to make the rain card and she said "make it like the rainforest" BAM! LIGHT BULB! and this was created

I completely LOVE how the background turned out! So let's get on with it, shall we?
To cut ahead of time...

The Copic markers I used are:
I hope you enjoyed my post today. Don’t forget to go and see the rest of the team’s creations over at the LaLa Land Crafts Blog. Don’t forget you can also find great inspiration over at the LaLa Land Crafts Facebook Group and on Instagram as well.
Until next time friends!!!

Don’t forget to follow me on Instagram, Twitter, Pinterest, and if you want to connect with me, even more, come see my facebook page!

[/vc_column_text][/vc_column][/vc_row]
Hey all! Today is a super fun again today! Yes... it is not Friday (just one more day!) but still super fun because I have a tutorial for you AGAIN! and you won't want to miss out on any of it!
The card I made for you today is so stinkin cute! I wanted to use the cute Chameleon from the new release La-La
Land Crafts Never Change stamp set. I was inspired by my fellow La-La Land Crafts design team member and friend Tina Goodwin. She wanted me to do this tutorial so she would know how to make the rain card and she said "make it like the rainforest" BAM! LIGHT BULB! and this was created

I completely LOVE how the background turned out! So let's get on with it, shall we?
To cut ahead of time...
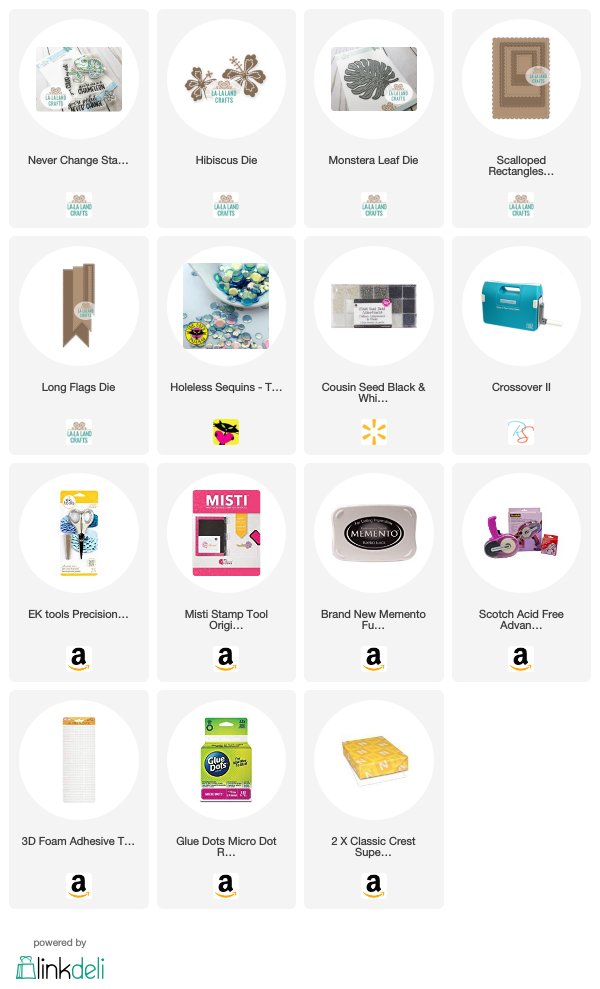
- I started out with white cardstock 4 1/4" x 11" folded in half for the card base
- I have one layer under the main layer that is the rainforest background which is 4 1/4" x 5 1/2"
- The top layer for the leaves and flowers are white cardstock. You will need 3 of the Monstera Leaves and 3 Hibiscus flowers.
- You will also need 1 of the largest Scalloped Rectangle die cuts out of white cardstock (I colored mine) or you can just use green cardstock if you don't want to color it.
- (2) white or any color really cardstock 3/4 x 4 1/4"

The Copic markers I used are:
- Chameleon: YG21, 23, 25, G24
- Tongue: R05, 02, YR12
- Monstera Leaves: YG21, 23, 25
Hibiscus Flowers: Y11, 02, 05, RV13
I hope you enjoyed my post today. Don’t forget to go and see the rest of the team’s creations over at the LaLa Land Crafts Blog. Don’t forget you can also find great inspiration over at the LaLa Land Crafts Facebook Group and on Instagram as well.
Until next time friends!!!

Don’t forget to follow me on Instagram, Twitter, Pinterest, and if you want to connect with me, even more, come see my facebook page!

[/vc_column_text][/vc_column][/vc_row]


Love this card & these stamps! So fun! My first intro to La La Land!
ReplyDelete